Installing Vim 7 on CSIL machines
Vim 7 has been released for a few months but the machines in the CSIl labs here still have the older 6.3 version. Now, there is nothing wrong with version 6.3. Except that it does not have tabs, does not have built-in spelling checker, does not have that nice omni-complete feature and not to mention that it does not work well with my .vimrc file since I tuned it for version 7.
Here's what you need to do. This is not specific to the CSIL machines and should work with any linux installation.
- Create a directory called downloads in your home directory using
mkdir download - Grab the latest vim source from here and stick it into the download directory. Just use Firefox or Konqueror to browse to that site.
- Untar the file by running
tar jxvf vim-7.0.tar.bz2 - Do
cd vim70/src - You have to modify the Makefile a bit to get it to install in your home directory. Look for the line (around line 853) that has says "prefix = $(HOME)". Uncomment it. This will install Vim in folder /bin in your home directory,
- Do
cd ..to get back to the vim70 directory. Then do
			./configure

			make

make install - There should not be any errors and it takes less than 5 minutes to compile on the newer csil-core machines.
- The final step is to get your newly installed version of Vim to run instead of the old one. Add the lines set path = ($path $HOME/bin ) to your .cshrc file. You can edit the .cshrc file by doing
cd ; vim .cshrc - Do
source .cshrc. - Now you can type vim or gvim in the terminal and it will run the new Vim 7.0
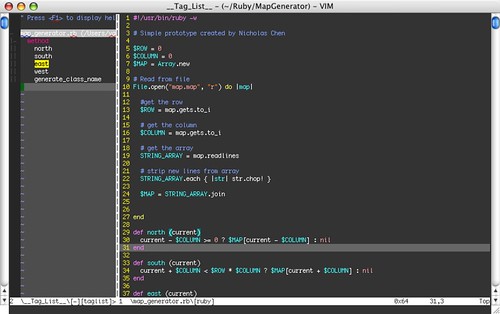
Now that you have Vim 7.0 installed, go look at what you can with it. Also, grab some color schemes from here to make the syntax highlighting slightly nicer. Another good tool to have for code editing is the taglist plugin
. Tweet
Tweet
comments powered by Disqus